Merry Christmas from our family to yours
and Happy New Year, too!
Monday, December 26, 2011
Tuesday, December 20, 2011
[celebrate] holiday house party
Our annual gingerbread-less house decorating party went great. The decorating is the fun part, so we skip the mixing, cutting, baking and trying to get large pieces of gingerbread not to crack and end in disaster. I use cardboard. But not just any cardboard mind you, pouch juice cardboard.
My Jack renamed Capri-Suns pouch juices. Our household goes through A LOT of pouch juice especially during the holidays when we are traveling a bunch. The boxes that hold all of this pouch juice just happens to be a perfect size for a little house.
1. First open up then end flaps and side flap and flatten out the box.
2. Using a case knife or craft knife cut the box in half so that you have two long rectangles. You will cut through the side flap. The end flaps that you generally open the box with will run along the top or bottom of your long rectangles.
3. Turn the rectangles inside out so that the printed part is on the inside and hot glue it at the long side flap that you opened up to get it flat in the first place.
4. I used a large brownie box opened up and cut on the folds to make my roof. You can use any cardboard of similar weight to your pouch juice box. I just measured the end flaps (now the top) of the pouch juice square, cut the brownie box to size on either side of a fold and presto, roof.
5. Now glue on the roof. The side flaps are super helpful when it comes to gluing the roof in place.
6. All that is left was to set the house on a square cake base and you are ready for graham crackers, short bread cookies and lots and lots of candy.
The pouch juice boxes were recycled along with my brownie box and the cardboard cake bases were 4 for $2.50 at Hobby Lobby. In years past I've used recycled cardboard for those too, but I love that they are nice a white. Once you get the cutting done, assembly is a snap with some hot glue. And you don't have to worry about these falling to pieces once the kids get to decorating.
2. Using a case knife or craft knife cut the box in half so that you have two long rectangles. You will cut through the side flap. The end flaps that you generally open the box with will run along the top or bottom of your long rectangles.
3. Turn the rectangles inside out so that the printed part is on the inside and hot glue it at the long side flap that you opened up to get it flat in the first place.
4. I used a large brownie box opened up and cut on the folds to make my roof. You can use any cardboard of similar weight to your pouch juice box. I just measured the end flaps (now the top) of the pouch juice square, cut the brownie box to size on either side of a fold and presto, roof.
5. Now glue on the roof. The side flaps are super helpful when it comes to gluing the roof in place.
6. All that is left was to set the house on a square cake base and you are ready for graham crackers, short bread cookies and lots and lots of candy.
The pouch juice boxes were recycled along with my brownie box and the cardboard cake bases were 4 for $2.50 at Hobby Lobby. In years past I've used recycled cardboard for those too, but I love that they are nice a white. Once you get the cutting done, assembly is a snap with some hot glue. And you don't have to worry about these falling to pieces once the kids get to decorating.
These were our finished products. We may not end up winning any contests but I don't think anyone had more fun decorating them than we did.
Caution: Huge amounts of candy make it extremely difficult to get a picture of children sitting still. Note Baby A is the only one remotely in focus thanks to the fact she is still only drinking milk.
[make] christmas treats
Before our Holiday House Party, the kids and I did a little "baking". I had found some nutter butter reindeer and little marshmallow north poles on pinterest. Here are our versions.
My little ones don't care for peppermint so we used red and white striped paper straws for our poles and dipped away. These little north poles are super easy and I was surprised at house quickly we turned them out. 90 seconds for the almond bark to melt in the microwave and not much more for the kids to dip them in the candy coating and roll them in white sprinkles.
As for the reindeer, Nutter Butters covered in chocolate with pretzel antlers and red candy noses. We used the icing eyes that I got from Bake It Pretty. How cute are these little things and my three kids did everything besides heating up the chocolate. The only problem we had were lots of noses went missing.
They were a huge hit at our Holiday House Party which is saying something considering all the candy competition.
My little ones don't care for peppermint so we used red and white striped paper straws for our poles and dipped away. These little north poles are super easy and I was surprised at house quickly we turned them out. 90 seconds for the almond bark to melt in the microwave and not much more for the kids to dip them in the candy coating and roll them in white sprinkles.
As for the reindeer, Nutter Butters covered in chocolate with pretzel antlers and red candy noses. We used the icing eyes that I got from Bake It Pretty. How cute are these little things and my three kids did everything besides heating up the chocolate. The only problem we had were lots of noses went missing.
They were a huge hit at our Holiday House Party which is saying something considering all the candy competition.
Monday, December 19, 2011
[live] holiday house
This is the holiday house, no party, post. A few of my decorations inspired by Pinterest and a woodland theme. Pine cone trees and tiny deer hiding in the moss:
A little fox:
And a woodland themed Christmas tree:
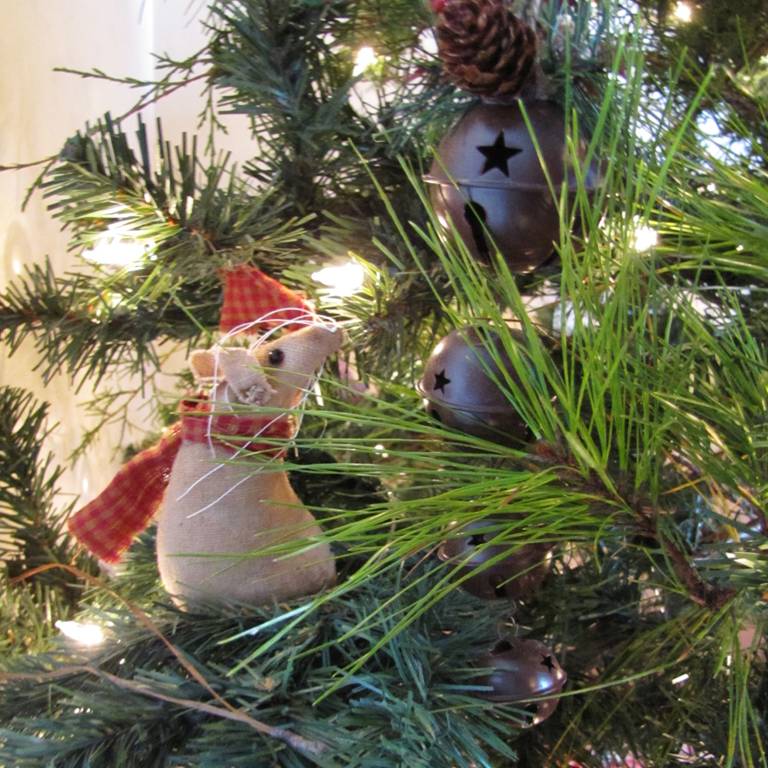
The little paper mouse is courtesy of my Jack, he knows how I like everything to match so he picked a brown mouse with red ears. I didn't get to so many of the projects I had on my list, but there is always next year (and maybe a few more days until Christmas)!
A little fox:
And a woodland themed Christmas tree:
The little paper mouse is courtesy of my Jack, he knows how I like everything to match so he picked a brown mouse with red ears. I didn't get to so many of the projects I had on my list, but there is always next year (and maybe a few more days until Christmas)!
[make] ornaments
I managed a few homemade ornaments this year. Simple but really pretty. The first is the simplest. Remember the sweater pumpkins? A tiny embroidery hoop plus some of the red sweater leftovers equals a super cute little Christmas "ball" perfect for my woodland tree.
A thrifted men's plaid shirt yields a different but equally cute version. I didn't even hot glue them or put a string on them. I just nestled them in the branches. Done.
The next was more involved but the concept just as simple.
Terrarium Ornaments:
1. Gather up moss, plants, sticks, rocks, you name it.
2. Get a clear glass (or plastic) ornament and remove the cap.
3. Start with soil, about two tablespoons will do it.
4. Put your plant(s) in. I used Creeping Jenny.
5. Then add about the same amount of mulch as soil.
6. Pack it all down with a cotton swap or chopstick.
7. Start adding your moss. You may need to add a little more mulch to even things out.
8. Now the fun part, add sticks, berries, stones, beads or even tiny little ornaments.
9. Add a little water to keep everything growing.
10. Use a cotton swab helps helps clean off the inside of the glass.
11. Use a little twine to tie them on the tree.
All finished!
The kids helped me gather the plants, moss and mulch from our yard and we had the clear glass ornaments left over from Christmas's past so our craft was FREE! We even packed a few up for teacher gifts with the caption "thanks for helping us grow". A brown kraft box with some paper shreds kept them safe and sound for transport.
Now to see if we can sneak in a few others before Santa comes!
A thrifted men's plaid shirt yields a different but equally cute version. I didn't even hot glue them or put a string on them. I just nestled them in the branches. Done.
The next was more involved but the concept just as simple.
Terrarium Ornaments:
1. Gather up moss, plants, sticks, rocks, you name it.
2. Get a clear glass (or plastic) ornament and remove the cap.
3. Start with soil, about two tablespoons will do it.
4. Put your plant(s) in. I used Creeping Jenny.
5. Then add about the same amount of mulch as soil.
6. Pack it all down with a cotton swap or chopstick.
7. Start adding your moss. You may need to add a little more mulch to even things out.
8. Now the fun part, add sticks, berries, stones, beads or even tiny little ornaments.
9. Add a little water to keep everything growing.
10. Use a cotton swab helps helps clean off the inside of the glass.
11. Use a little twine to tie them on the tree.
All finished!
The kids helped me gather the plants, moss and mulch from our yard and we had the clear glass ornaments left over from Christmas's past so our craft was FREE! We even packed a few up for teacher gifts with the caption "thanks for helping us grow". A brown kraft box with some paper shreds kept them safe and sound for transport.
Now to see if we can sneak in a few others before Santa comes!
Wednesday, December 14, 2011
[celebrate] holiday houses ...
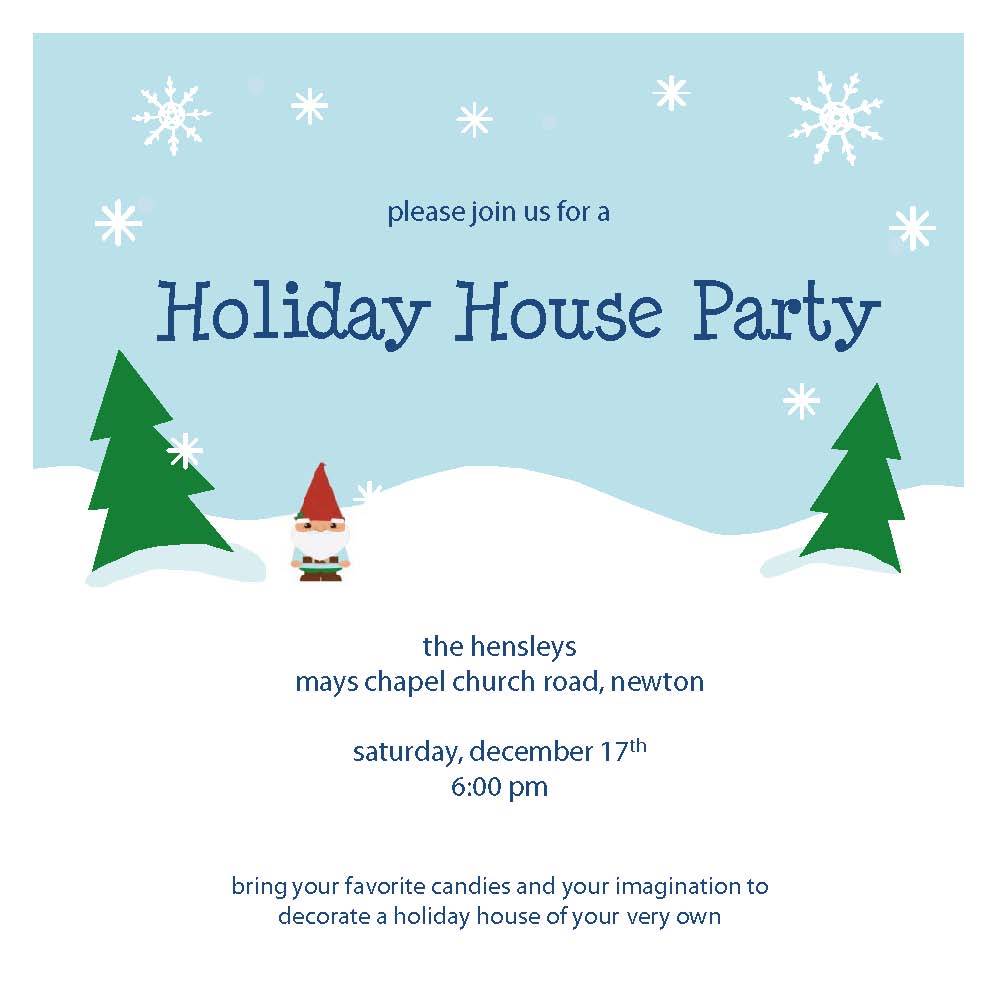
It's time for our annual house party.
Now to pre-assemble houses and collect some candy! (Isn't the gnome so cute? Thanks for the idea Amy!)
Tuesday, November 22, 2011
[learn] ice cream and igloos
We fit it in, almost two weeks late - but here is what we learned about the letter I, which actually ended up standing for icing more than I think anything else.
Since we've had a busy couple of weeks we stuck to crafts and snacks this time around. We started with an igloo. A very special igloo made of icing and tasty marshmallows.
Inspired by this igloo, we opted to start with a bowl covered with a simple icing made of some water and powdered sugar. Coat the bowl, put the bowl on a plate and start with your oreo 'door'.
Then came the marshmallows - easy peasy, stack them up (the ones you don't eat of course). For our bowl size and stacking, we used a bag and a half of the standard sized marshmallows so buy that extra bag just in case!
Then some polar bears to hang out at the igloo. I had pinned these little bears made of foam and sold at Platypus Crafts. The pattern seem simple enough although mine weren't quite as polished. I cut out heads (with pink marker ears), black noses, scarves and the front and back halves of the body. Then I long strip of paper to fold accordion style to attach the two body halves. After using a marker to make eyes and a little mouth, we got to gluing them together.
We did figure out one very important fact - if you want them to stand up, run your accordion folded paper sideways.
For our follow up snack - ice cream sandwiches rolled in sprinkles. Because why wouldn't you roll them in sprinkles?
Now for what else we learned besides the fact that ice cream and igloo start with the letter I? When you include a 6 year old boy, he will question why we are making polar bears which do not start with the letter I and those polar bears will not live in the igloo. They will be on top waiting for the Eskimos to come out of said igloo, also known as polar bear snacks.
And then this happened because again, why not?
Another successful and fun TwinBop, regardless of the fact that they are no longer weekly and we've gained a member and non-twin in the 6 year old. Now for the Letter J and hopefully sometime this month! Keep an eye on the TwinBop board for the upcoming ideas. Any suggestions or ideas for J? Leave me a comment!
Monday, November 21, 2011
[make] waiting room crafts - part 2
So technically I did these in a hospital room proper. Sis had been admitted by this point and since I was the designated overnight watch, enter felt leaves and flowers.
My inspiration were these little roses, this looped up flower from Infarrently Creative and the straight cut version. I also found these really neat leave headbands J Market sells on her Etsy shop.
I started with the leaves and found that I preferred the more narrow (orange) version. I so love the combination of felt and a plain stitch with embroidery floss. It was as simple as cutting the base, a few leave shapes, and then sewing them on. Easy peasy.
Next came the roses and yet again, I preferred the smaller orange version. Instead of sewing these I hooked up the hot glue gun. We were in a room after all and I had my hot glue gun of course. I followed the tutorial and despite having to fold the bigger yellow one over several times, I really like the result.
My favorite out of the bunch though had to be these little beauties. They were super simple and with some hot glue in lieu of the heat tape, felt and scissors they take no time at all. Mom's favorite was the tri-color little one in the center of the photo which was even easier - same technique, no fold and honestly, it was made out of the leftover scraps from the other flowers.
Now, what to do with them. I'm open to ideas. Hair bow, wreath decoration, scarf pin? Yea, no clue here.
My inspiration were these little roses, this looped up flower from Infarrently Creative and the straight cut version. I also found these really neat leave headbands J Market sells on her Etsy shop.
I started with the leaves and found that I preferred the more narrow (orange) version. I so love the combination of felt and a plain stitch with embroidery floss. It was as simple as cutting the base, a few leave shapes, and then sewing them on. Easy peasy.
Next came the roses and yet again, I preferred the smaller orange version. Instead of sewing these I hooked up the hot glue gun. We were in a room after all and I had my hot glue gun of course. I followed the tutorial and despite having to fold the bigger yellow one over several times, I really like the result.
My favorite out of the bunch though had to be these little beauties. They were super simple and with some hot glue in lieu of the heat tape, felt and scissors they take no time at all. Mom's favorite was the tri-color little one in the center of the photo which was even easier - same technique, no fold and honestly, it was made out of the leftover scraps from the other flowers.
Now, what to do with them. I'm open to ideas. Hair bow, wreath decoration, scarf pin? Yea, no clue here.
Sunday, November 20, 2011
[make] waiting room crafts - part 1
I recently spent a great deal of time in a hospital waiting room. My sister had a scheduled surgery, so I came prepared with a bag of what I hoped could keep me occupied for at least eight hour stretch. I started with pom poms because I had seen these super cute pom flowers on Pinterest.
I tried the fork version to no avail (the baby teal ones pictured below). Either I put too much yarn or I didn't get it tied tightly enough. They came out all sideways and weird. So then I went to the hand method, also pinned, but then they were loosey goosey and so again, craft fail (more weird but larger teal ones). At this point I've gathered the attention of my mother, brother, father and niece who are all giving me advice on what I'm doing wrong. This is not to mention the rest of the people in the waiting room and the fact that I've commandeered the waiting room trash can. So because "she said so", I tried Mom's version.
(1) The piece of "tying" yarn is threaded between your middle and ring finger and then them you close your hand tightly and (2) wrap until you can't feel the ends of your fingers anymore from lack of circulation. (3) Tie off the yarn in the middle as tight as you can, wrap the yarn around and tie it one more time for good measure and then (4) cut the ends. Trim and trim some more.
So Mom as usual, completely and utterly correct - see the nice shaped cream colored poms? I guess you should trust the person who made all those pom poms for your skates so many years ago. Now to put them on stems for my flowers! I did pack my glue gun but I finished up the pom flowers when I got back home with these results.
Thanks Mom!!
I tried the fork version to no avail (the baby teal ones pictured below). Either I put too much yarn or I didn't get it tied tightly enough. They came out all sideways and weird. So then I went to the hand method, also pinned, but then they were loosey goosey and so again, craft fail (more weird but larger teal ones). At this point I've gathered the attention of my mother, brother, father and niece who are all giving me advice on what I'm doing wrong. This is not to mention the rest of the people in the waiting room and the fact that I've commandeered the waiting room trash can. So because "she said so", I tried Mom's version.
(1) The piece of "tying" yarn is threaded between your middle and ring finger and then them you close your hand tightly and (2) wrap until you can't feel the ends of your fingers anymore from lack of circulation. (3) Tie off the yarn in the middle as tight as you can, wrap the yarn around and tie it one more time for good measure and then (4) cut the ends. Trim and trim some more.
So Mom as usual, completely and utterly correct - see the nice shaped cream colored poms? I guess you should trust the person who made all those pom poms for your skates so many years ago. Now to put them on stems for my flowers! I did pack my glue gun but I finished up the pom flowers when I got back home with these results.
Thanks Mom!!
Tuesday, November 8, 2011
[learn] igloos and ice cream
I suppose the weather lends itself more to igloos than ice cream right now, but they both start with the Letter I so why not? Here are some ideas for the upcoming lesson.
All these nice images have been pinned on my twinbop board, so for links on these and more ideas check me out on Pinterest.
Subscribe to:
Posts (Atom)